Custom Units Tutorial
|
This page serves as a brief introduction on how to make a quick custom unit for the game.
For all custom units, they will be using animations and models provided by the game as custom models are not supported. Textures and icons for units can be changed. |
|
Where do you get started?
|
The process is somewhat different depending on what type of unit you are trying to make,
as well as the complexity involved. |
|
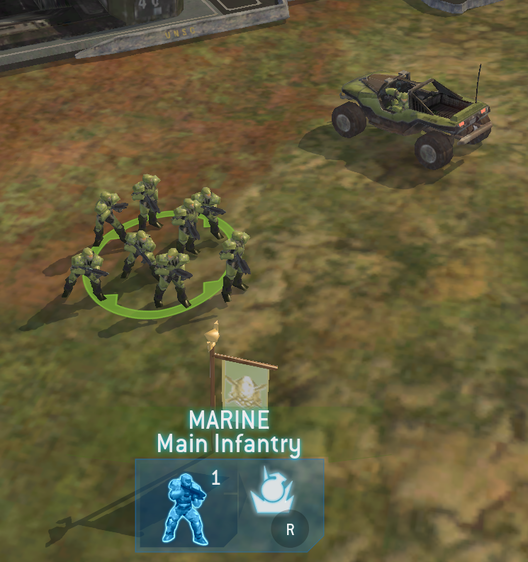
infantryWhen making a custom infantry unit, you'll typically be combining a character model with other animations and weapons. For example, you could use the Jackal animations with Elite models in order to make sniper elites.
The most basic type of custom infantry would be changing the "squad" data. Adding more men to a squad, changing its resource values, etcetera. Infantry is a bit more flexible ability wise than vehicles. |
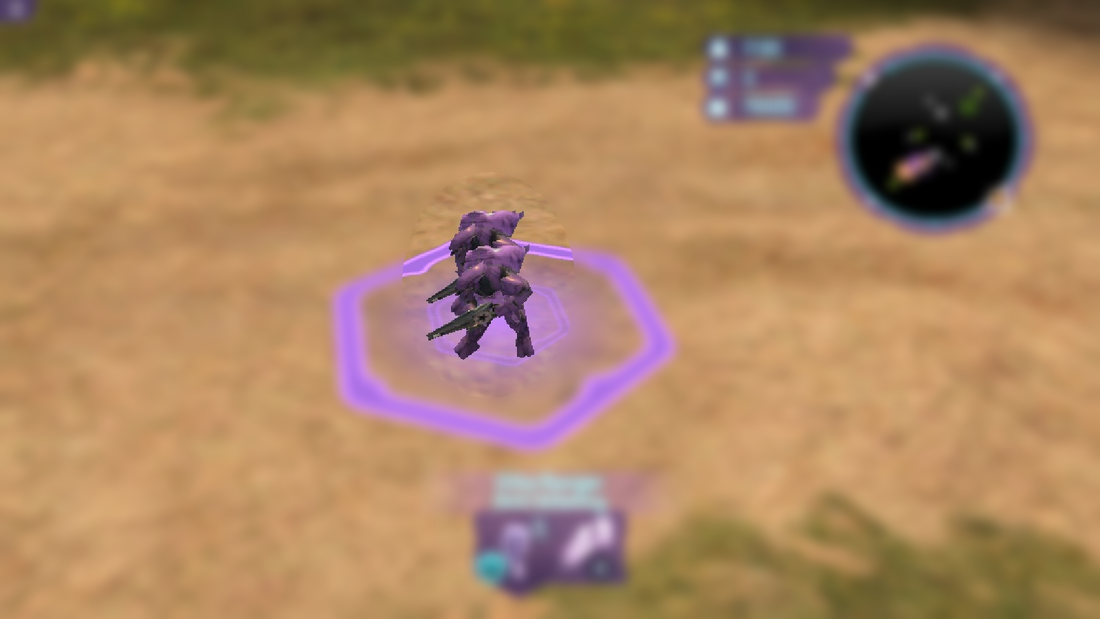
VehiclesWhen making a custom vehicle, it is more complex work than infantry. Most of the time, every time you see a moving part on a vehicle, its removable, resulting in you able to kit-bash vehicles. Air vehicles apply to this as well, but in a lesser result.
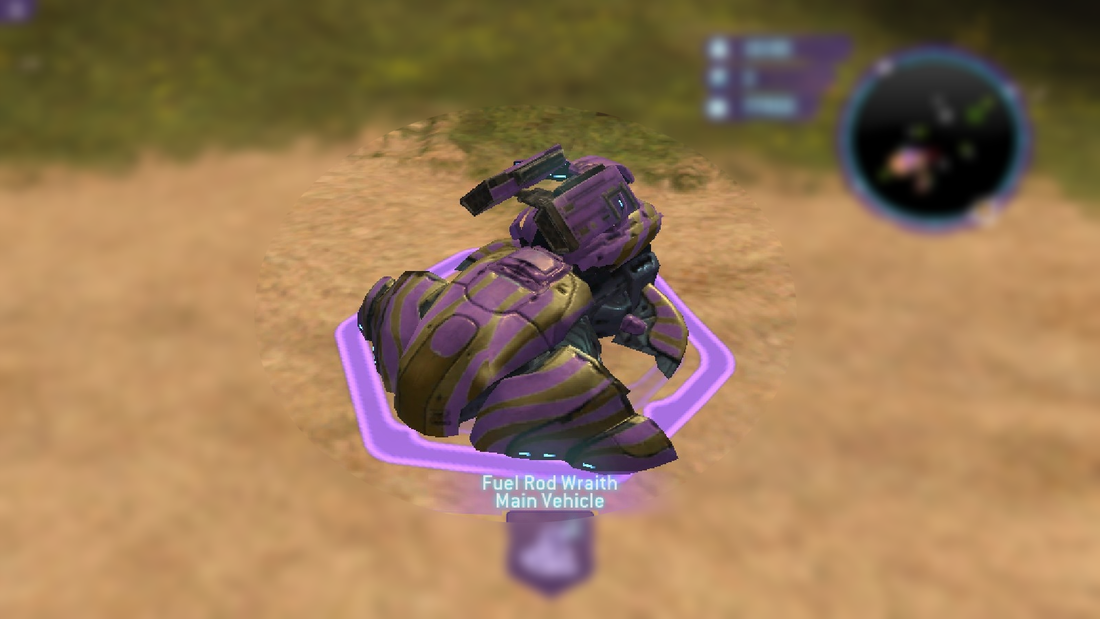
Like custom infantry, the most basic type of a custom vehicle would be a "value" changed vehicle, such as adding more damage / HP. Multiple vehicles cannot be added in the same squad instance, unlike infantry. |
|
How to make an infantry squad have more units.
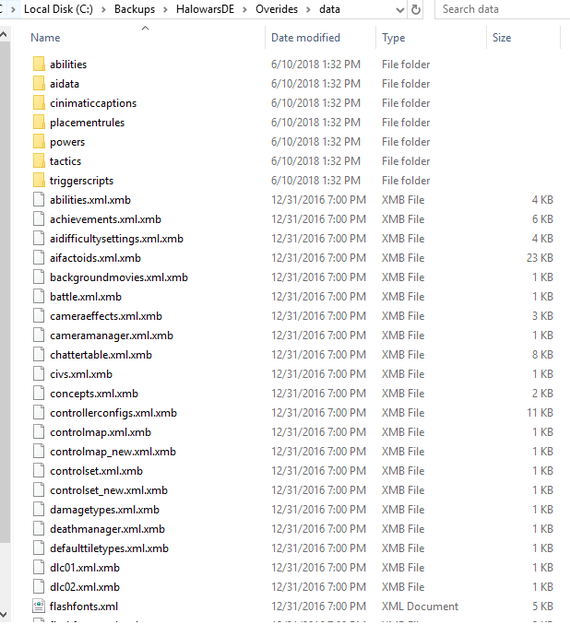
+ Values in data to learn (Names, Resources, Count) Navigate to your extract folder, and open "Data".

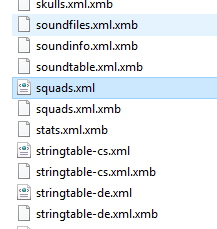
Oh no, even though we clicked "Always build with XML instead of XMB" they didn't de-compile correctly. This is a common issue with PHXtool. The most updated versions of the application has a bug that prevents it to extract XMB files correctly. To fix this, download an older PHXtool version >Here<.
You can use PHX tool straight out of the .RAR file, no need to extract it to your computer. Scroll down to "squads.xml.xmb" and drag the file into the empty space in "HaloWars1 tool" AKA PHXtool. Once done, you should see an identical squads file, de-compiled. Right click "squads.xml" and select "Edit with Notepad++". You should see exactly what is displayed below. This is the raw data for every unit.
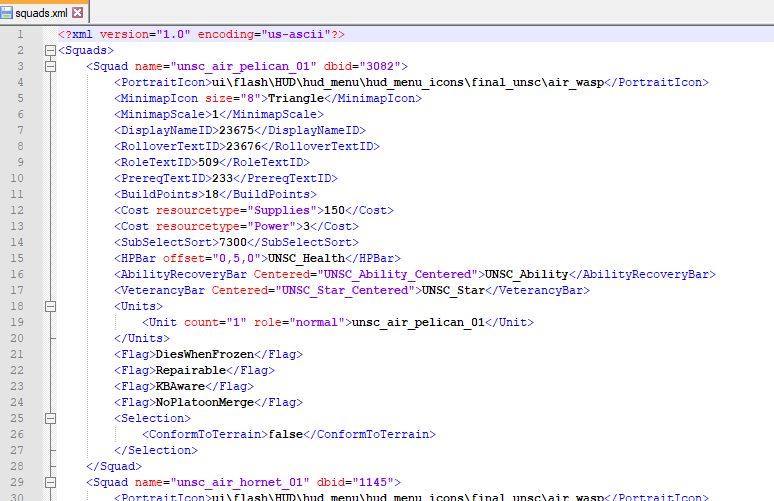
For this example we are going to add more men to a Marine squad. In Notepad++, press "CTRL" + "F" on your keyboard and paste into the search "unsc_inf_marine_01"

Important values to note:
|
How to make a custom vehicle.
(WIP, i gotta rewrite all this since i screwerd it up) (Example: Flamethrower Scorpion) Navigate to your extract folder, and open "Data".

Oh no, even though we clicked "Always build with XML instead of XMB" they didn't de-compile correctly. This is a common issue with PHXtool. The most updated versions of the application has a bug that prevents it to extract XMB files correctly. To fix this, download an older PHXtool version
>Here<. You can use PHX tool straight out of the .RAR file, no need to extract it to your computer. Scroll down to "squads.xml.xmb" and drag the file into the empty space in "HaloWars1 tool" AKA PHXtool. Once done, you should see an identical squads file, de-compiled. The files you are going to be editing / using are:
"squads.xml" (in data) "stringtable-en.xml" (in data) "techs.xml" (in data) "objects.xml" (in data) "leaders.xml" (in data) "unsc_veh_warthog_01.tactics" (in the tactics folder) "unsc_inf_flamemarine_01.tactics" (in the tactics folder) "unsc_veh_scorpion_01.tactics" (in the tactics folder) "waolverine_01 folder" (in art/unsc/vehicle) "scorpion_01 folder" (in art/unsc/vehicle) Copy the "warthog_01" folder in art/unsc/vehicles, name the copy "heavyhog_01", inside "heavyhog_01" find "warthog_01.vis.xmb". Decompile it via dragging into "HaloWars1 Tool" and then rename it to "heavyhog_01.vis". Open "heavyhog_01.vis" with Notepad++. Go to art/unsc/vehicles and navigate to the "scorpion_01 folder". Decompile "scorpion_01.vis.xmb" via dragging into "HaloWars1 tool" and open it with Notepad++. Open "squads.xml" with Notepad++. Press on your keyboard "CTRL" + "F" and enter into the search "unsc_veh_warthog_01". Copy the warthog squad information all the way with "CTRL" + "C". Then, paste underneath. Rename anything with "unsc_veh_warthog_01" to "unsc_veh_heavyhog_01". There are two locations, one in "Squad name" and one in "Unit count". 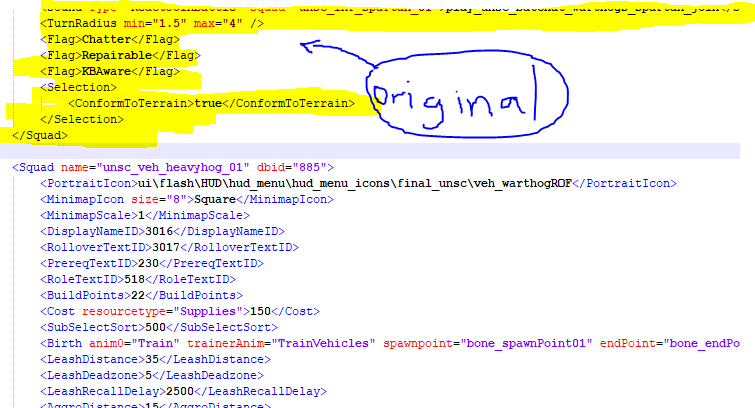
Do the same in "objects.xml". Copy the "unsc_veh_warthog_01" object information and paste it below the original.
Change <Object name="unsc_veh_warthog_01" id="0" dbid="156"> to <Object name="unsc_veh_heavyhog_01" id="0" dbid="156"> Change <Visual>unsc\vehicle\warthog_01\warthog_01.vis</Visual> to <Visual>unsc\vehicle\heavyhog_01\heavyhog_01.vis</Visual> Change <Tactics>unsc_veh_warthog_01.tactics</Tactics> to <Tactics>unsc_veh_heavyhog_01.tactics</Tactics> This is all you need to change name wise here. The values for the unit specifically we are going to change are: <Velocity> <Hitpoints> <AmmoMax> Set Velocity's value to 25, Hitpoint's value to 3369 and AmmoMax's value to 1000. Remove <AbilityCommand>UnscRam</AbilityCommand> Go to "squads.xml" and find the vehicle's "DisplayNameID", "RolloverTextID", "RoleTextID" and "SubSelectSort". Add a "05" to the end of "SubSelectSort", making the value "50005". Go back to "objects.xml" and change the "SubSelectSort" on the "unsc_veh_heavyhog_01" to "50005". Go to "stringtable-en.xml" and search the value of the "DisplayNameID". Copy the line entirely, and paste it underneath. Change the values inside "_locID= ####' to something that doesn't match any other unit. In this example I will add a "0" inbetween 1 and 6, 1 and 7, 1 and 8. Rename the text to whatever you see fit. 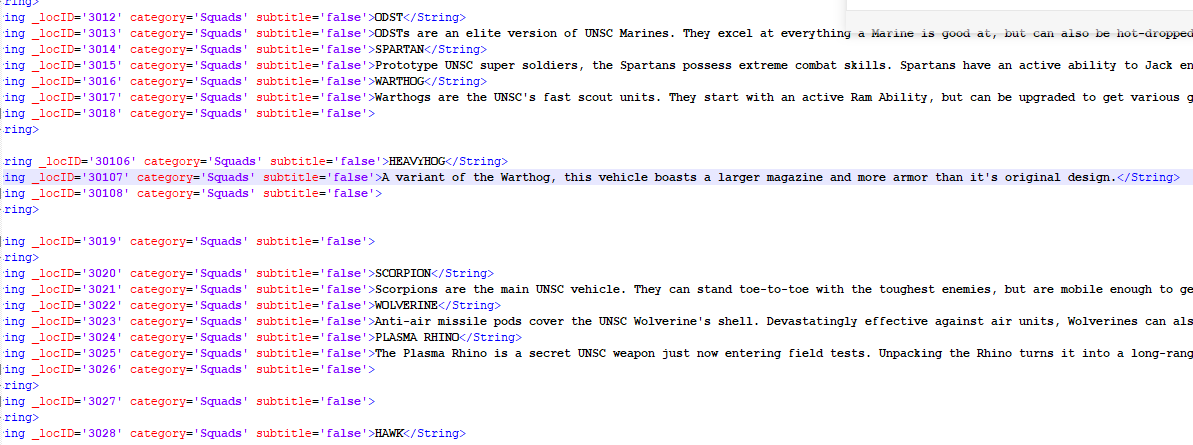
Take these new IDs, and replace the old ones for the "unsc_veh_heavyhog_01" in "objects.xml" and "squads.xml"
Duplicate "unsc_veh_warthog_01.tactic" in your tactics folder. rename "unsc_veh_warthog_01.tactic - copy" to "unsc_veh_heavyhog_01". Open and scroll down until you find <Action> with <Name>MachinegunAttackAction</Name>. Inside this, delete <StartDisabled /> With "unsc_veh_heavyhog_01.vis" and "unsc_veh_scorpion_01.vis" open, go to <asset type="Model"> for the scorpion and copy the "<attachtype>"s for the treads, paste this inside the warthog vis, underneath the warthog's "<attachtype>" for the wheels. 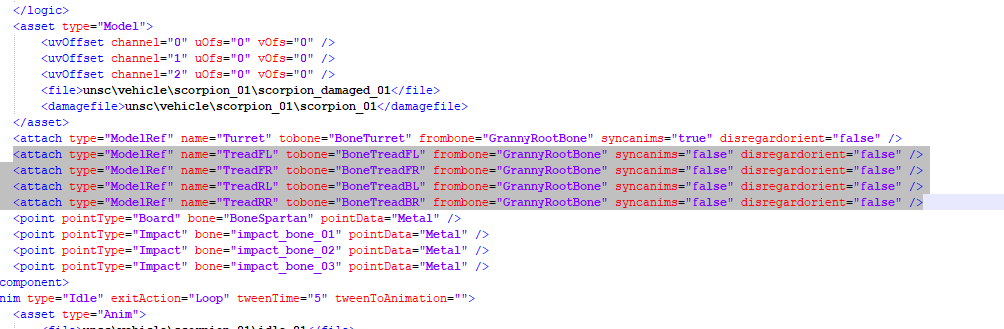
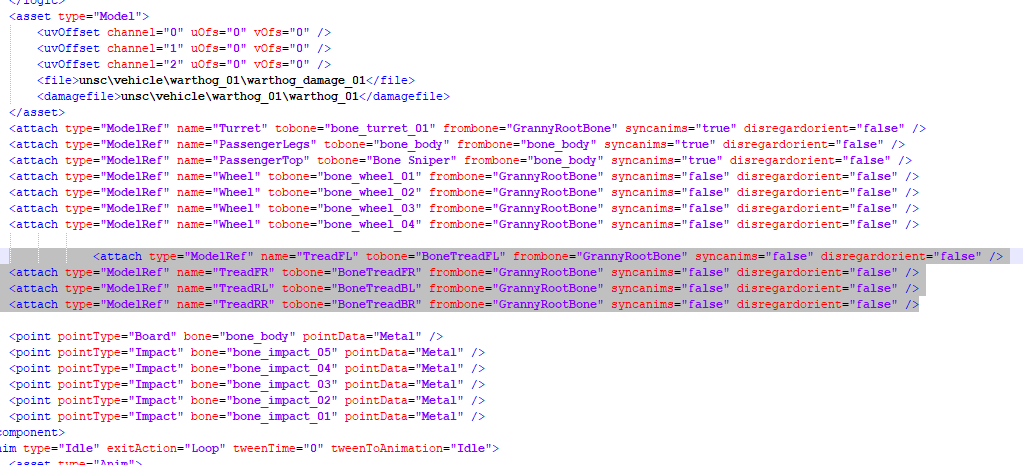
Transfer over the values from the pasted text to the original text in the heavyhog.tactic. Delete the pasted text once done. It should look like this when completed.
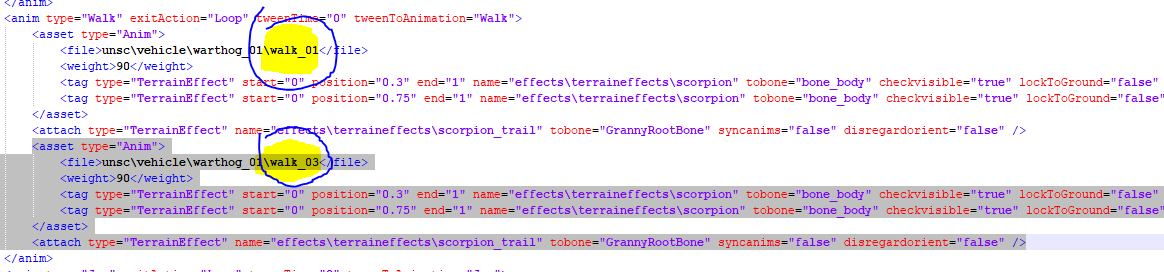
In the heavyhog's "<anim type="Walk">", replace "effects\terraineffects\warthog_ice"
with "effects\terraineffects\scorpion" replace lifespan="0.25"'s value of 0.25 with "30.18" on the top line and "23.58" on the bottom line. Now delete the pasted text from the scorpion, except: "<attach type="TerrainEffect" name="effects\terraineffects\scorpion_trail" tobone="GrannyRootBone" syncanims="false" disregardorient="false" />" Keep this text. (If you cannot read the images well, right click them and "open image in new tab.") 
Now lets redo this process on the heavyhog's walk_03 under anim type="Walk", as well as the "walks" for anim type="Jog" and anim type="Run". You can do this quickly by replacing the original values for these animations with a copy of the edited text you just did, being:
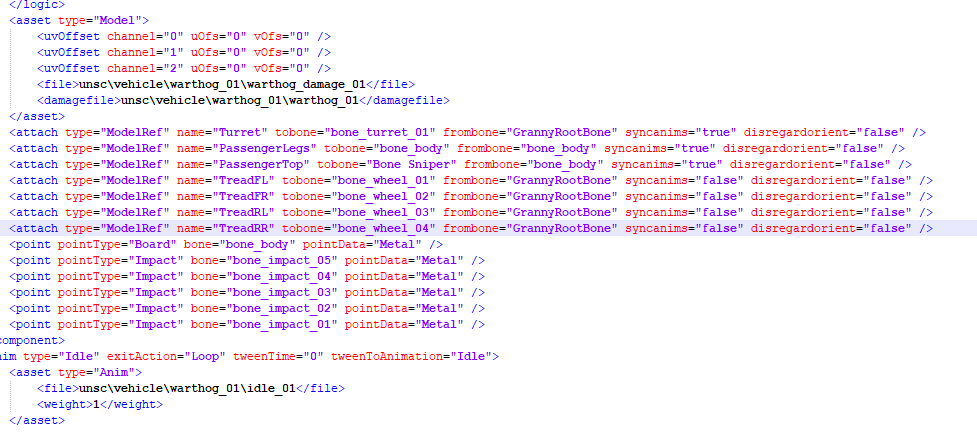
Just remember which "walk_0#" it was, if the original ## was 02, change the pasted 01 to 02. Make sure to save your changes.
In "unsc_veh_scorpion_01.vis", scroll all the way down and copy the Tread model text. Paste this underneath the warthog's wheel model text. 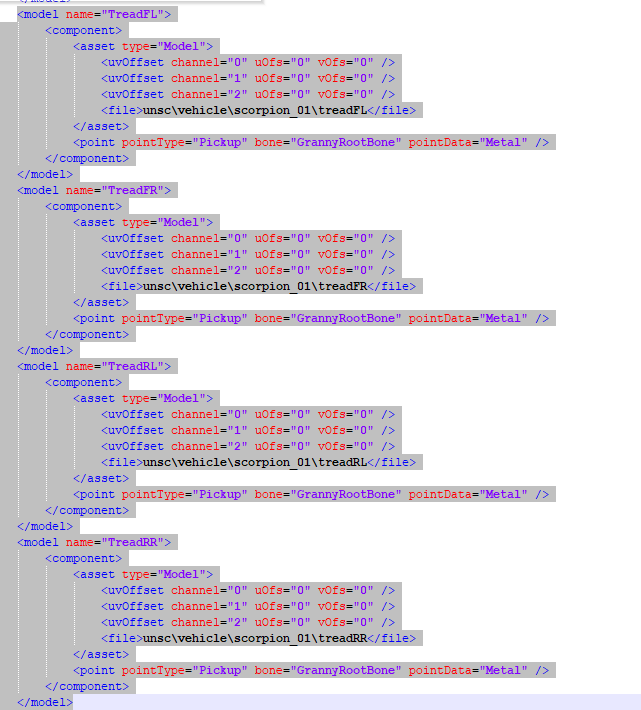
lJust remember which "walk_0#" it was, if the original ## was 02, change the pasted 01 to 02. Make sure to save your changes.
In "unsc_veh_scorpion_01.vis", scroll all the way down and copy the Tread model text. Paste this underneath the warthog's wheel model text. Next open leaders.xml, for testing purposes, copy the StartingSquad under Cutter, paste and replace Warthog with Heavyhog. 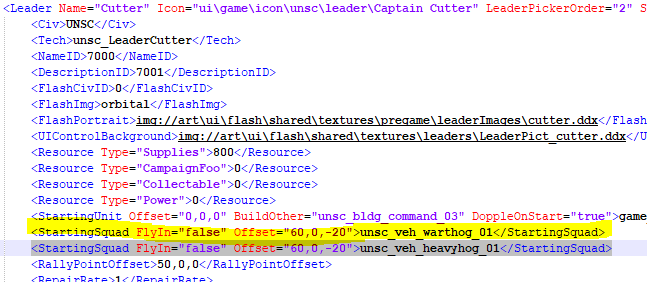
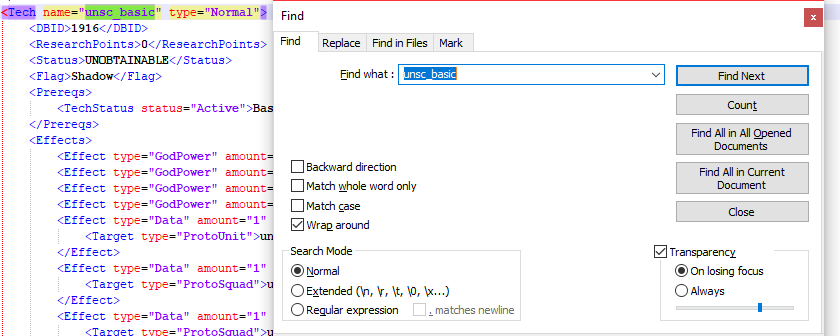
Next open "techs.xml", "CTRL" + "F" search "unsc_basic"
Search via scrolling down until you find
"unsc_veh_warthog_01" in Effect type="Data". Copy the entire entry for the warthog and paste underneath. In the copy change "warthog" to "heavyhog" 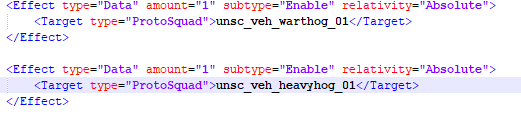
|
